Table of Contents

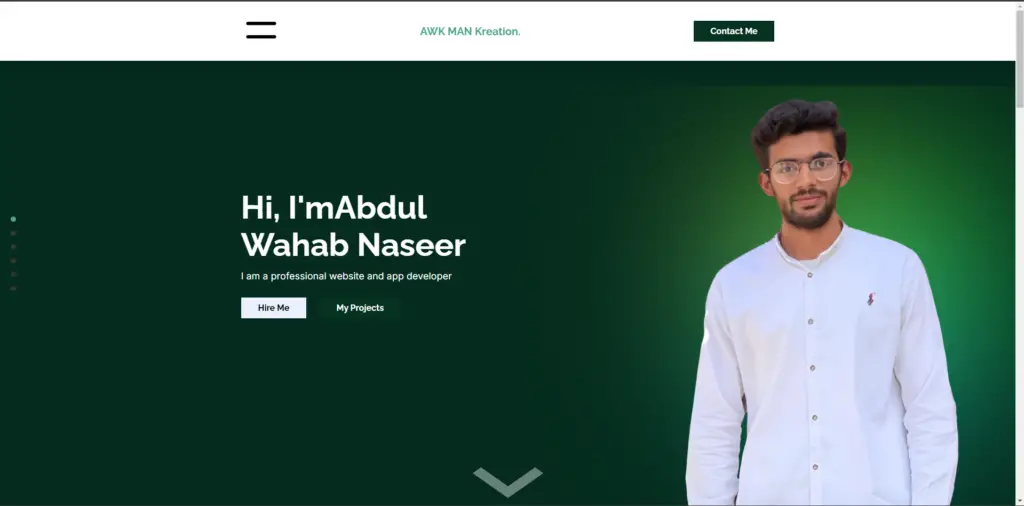
Creating a stunning personal portfolio is essential for showcasing your skills, projects, and professional journey. With the right combination of HTML, CSS, and JavaScript, you can design an attractive portfolio that stands out to potential employers or clients. In this blog post, I’ll guide you through the process of building your own portfolio on Blogger, a platform that makes it easy to publish and manage content.
Why Choose Blogger?
Blogger is a user-friendly platform that allows you to create a blog or portfolio without extensive technical knowledge. It offers customizable templates, simple drag-and-drop features, and straightforward integration with Google services. By using HTML, CSS, and JavaScript, you can enhance the design and functionality of your portfolio beyond the standard templates.

Step-by-Step Guide to Building Your Portfolio
Step 1: Set Up Your Blogger Account
- Create a Blogger Account: Go to Blogger and sign in with your Google account.
- Create a New Blog: Click on “Create New Blog.” Choose a unique name and select a theme. You can start with a simple theme, which you can customize later.

Step 2: Access the HTML Editor
- Open Theme Settings: In your Blogger dashboard, navigate to the Theme section.
- Edit HTML: Click on the “Edit HTML” button to access the code editor. Here, you can modify the HTML and CSS of your blog.
Step 3: Design Your Portfolio Layout
HTML Structure
Begin by adding the necessary HTML elements to create your portfolio sections. Here’s a simple structure you can start with:
<div class="portfolio">
<header>
<h1>My Portfolio</h1>
<p>A showcase of my work as a developer</p>
</header>
<nav>
<ul>
<li><a href="#projects">Projects</a></li>
<li><a href="#services">Services</a></li>
<li><a href="#testimonials">Testimonials</a></li>
<li><a href="#contact">Contact</a></li>
</ul>
</nav>
<section id="projects">
<h2>Projects</h2>
<!-- Project items go here -->
</section>
<section id="services">
<h2>Services</h2>
<!-- Services offered go here -->
</section>
<section id="testimonials">
<h2>Testimonials</h2>
<!-- Testimonials go here -->
</section>
<section id="contact">
<h2>Contact Me</h2>
<!-- Contact form goes here -->
</section>
<footer>
<p>© 2024 Your Name</p>
</footer>
</div>
Step 4: Style Your Portfolio with CSS
To create an attractive design, you need to add custom CSS. Here’s an example of some styles you might include:
<style>
    body {
        font-family: 'Inter', sans-serif;
        margin: 0;
        padding: 0;
        background-color: #f4f4f4;
    }
    .portfolio {
        max-width: 1200px;
        margin: 0 auto;
        padding: 20px;
        background-color: white;
        box-shadow: 0 2px 10px rgba(0,0,0,0.1);
    }
    header {
        text-align: center;
        padding: 50px 0;
    }
    nav ul {
        list-style: none;
        padding: 0;
        text-align: center;
    }
    nav ul li {
        display: inline;
        margin: 0 15px;
    }
    nav ul li a {
        text-decoration: none;
        color: #333;
    }
    section {
        margin: 20px 0;
        padding: 20px;
        border-bottom: 1px solid #ddd;
    }
    footer {
        text-align: center;
        padding: 20px 0;
        background-color: #f4f4f4;
    }
</style>
Step 5: Add Interactivity with JavaScript
To enhance user experience, consider adding JavaScript for interactive elements. For instance, you could implement a smooth scrolling effect for navigation:
<script>
    document.querySelectorAll('nav a').forEach(anchor => {
        anchor.addEventListener('click', function(e) {
            e.preventDefault();
            document.querySelector(this.getAttribute('href')).scrollIntoView({
                behavior: 'smooth'
            });
        });
    });
</script>
Step 6: Populate Your Portfolio
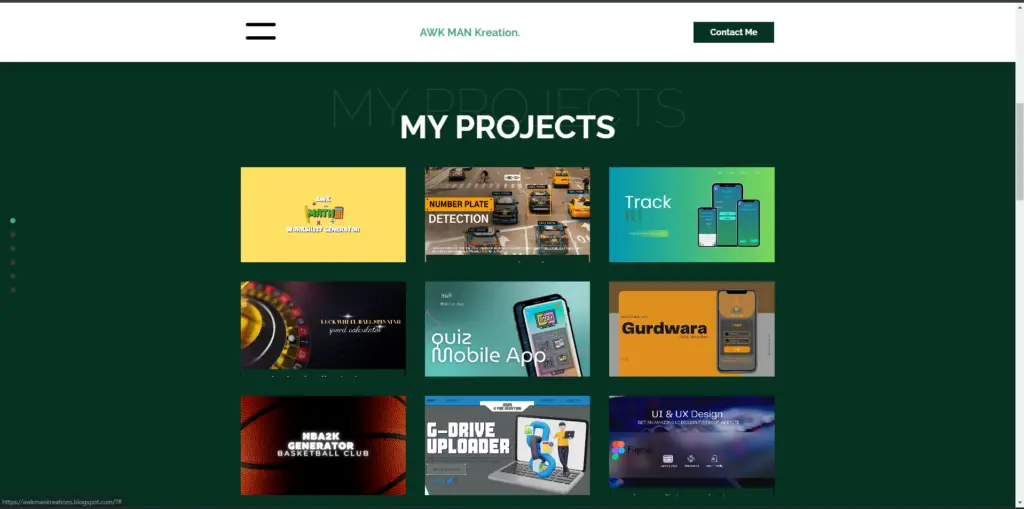
- Projects: Add descriptions, images, and links to your projects in the Projects section. Use a grid or list layout to organize them visually.
- Services: Outline the services you offer clearly, using bullet points or icons for better readability.
- Testimonials: Include real feedback from clients or colleagues to build credibility.
- Contact: Create a simple contact form for inquiries. You can use Google Forms for this.
Step 7: Preview and Publish
Once you’re satisfied with the design and content, preview your blog to see how it looks. Make any necessary adjustments, then hit the “Publish” button to make your portfolio live!
Tips for an Attractive Portfolio
- Use High-Quality Images: Ensure that images of your projects are clear and professional.
- Keep It Simple: A clean layout is more appealing than a cluttered one. Focus on essential information.
- Update Regularly: Regularly add new projects and update existing content to keep your portfolio fresh.
- Optimize for Mobile: Ensure your portfolio looks good on mobile devices by testing its responsiveness.
Attractive portfolio using HTML, CSS
Creating an attractive portfolio using HTML, CSS, and JavaScript on Blogger is not only feasible but also empowering. By following this guide, you can showcase your skills and projects in a professional manner. An impressive portfolio can significantly enhance your chances of landing opportunities in today’s competitive job market.
Now, it’s time to take action and build your portfolio! Happy coding!


Mashallah
Your article helped me a lot, is there any more related content? Thanks!