Table of Contents
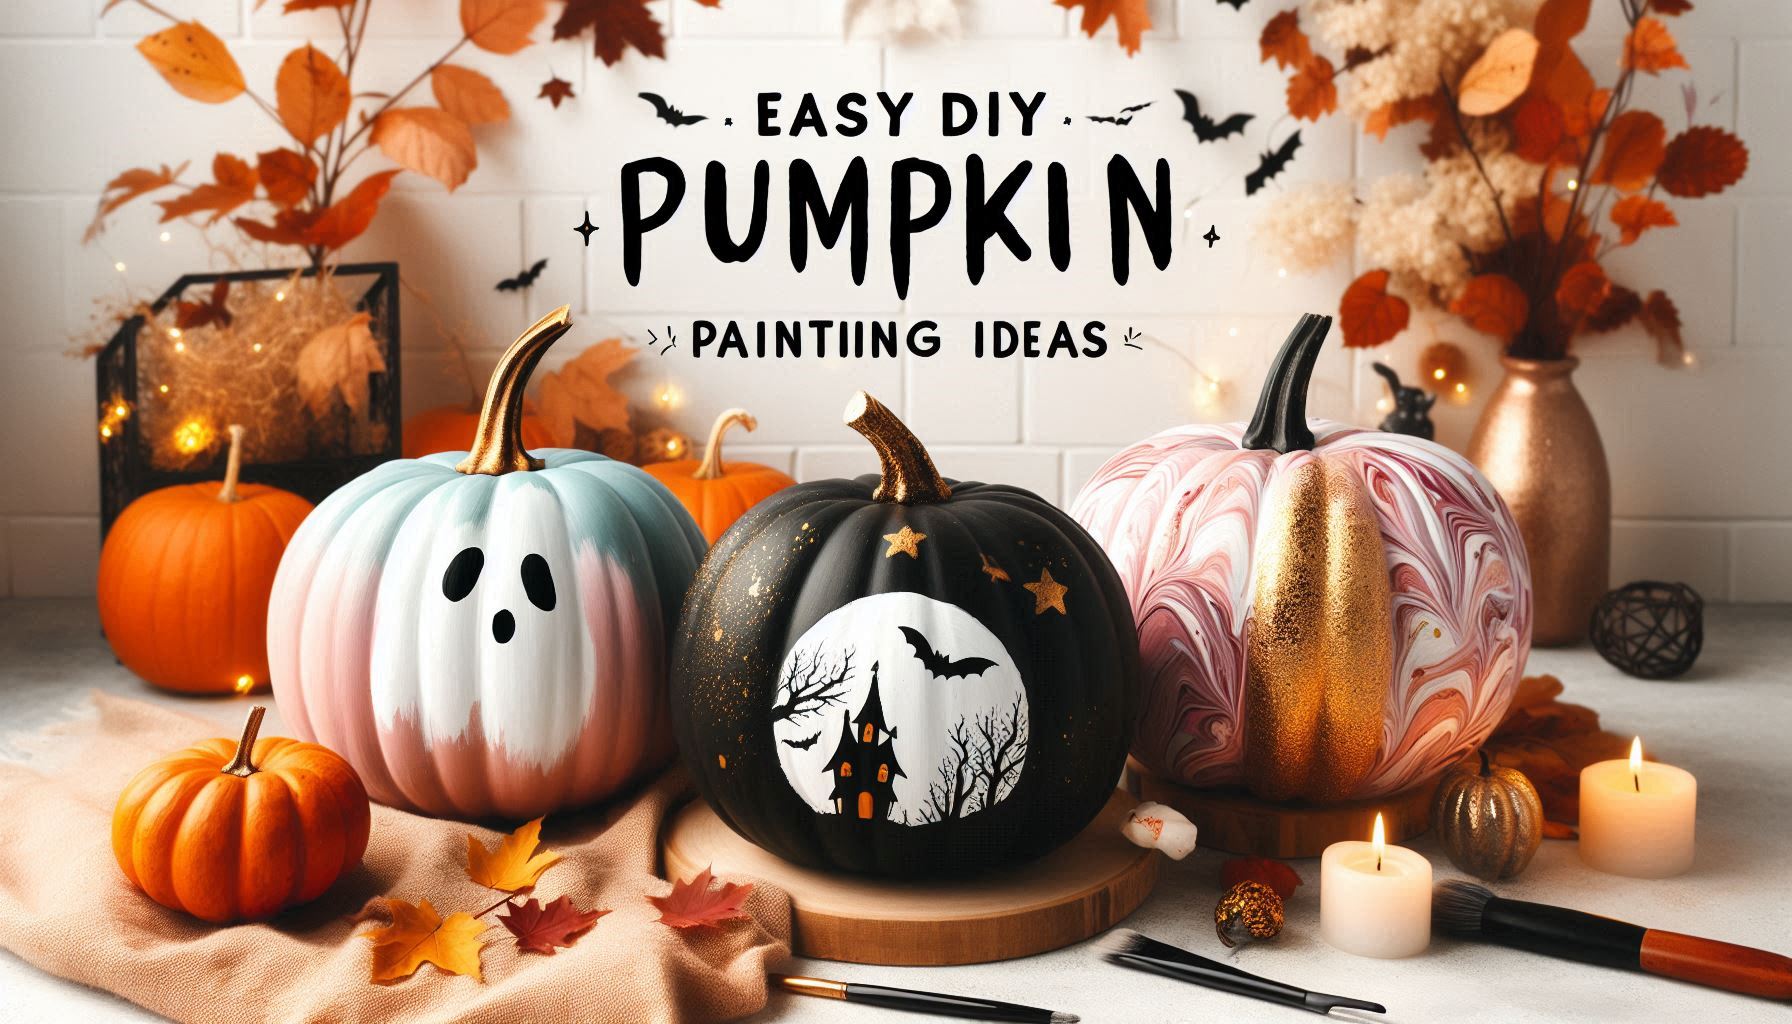
Looking to bring a creative, festive touch to your fall décor? Skip the mess of pumpkin carving and dive into these adorable painted pumpkin projects! With just a few paints and some imagination, you can craft cute, no-carve pumpkins that bring a unique style to your home. Plus, you can even turn your Halloween crafts into a side hustle by selling your creations! Here’s a step-by-step guide to DIY pumpkin painting projects, and some tips for making extra cash along the way.
1. Pastel Painted Ghost Pumpkins
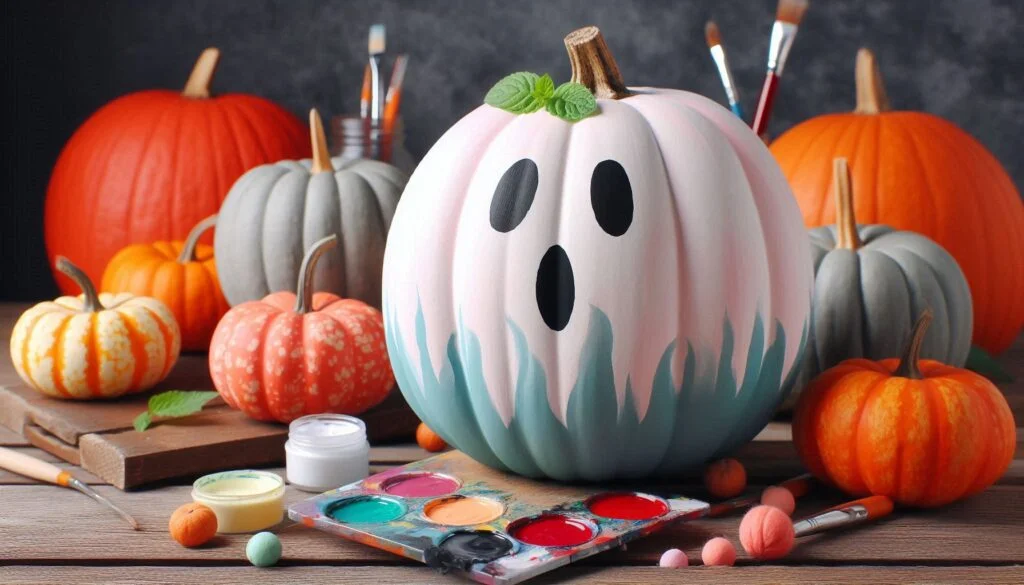
Who said ghosts have to be spooky?
For a playful, whimsical Halloween display, transform pumpkins into pastel-colored ghost faces. This project is beginner-friendly and adds a soft touch to your autumn setup.
What You’ll Need:
- Three pumpkins in varying sizes
- Acrylic paints in pastel colors (baby blue, mint green, lavender)
- White acrylic paint
- Small paintbrushes
How to Make:
- Prep Your Pumpkins: Clean the pumpkins thoroughly and ensure they’re dry.
- Paint Base Coats: Cover each pumpkin with a different pastel shade (baby blue, mint green, lavender) and let the paint dry completely.
- Add Ghost Faces: Using white paint, add cute ghost faces to each pumpkin. You can experiment with different expressions—surprised, happy, or silly!
- Final Touches: Once the faces are dry, place the pumpkins together for a pastel ghost family effect.
These pastel-painted pumpkins are perfect for anyone looking to create a cute, non-spooky Halloween vibe!
2. Silhouette Halloween Scene Pumpkins
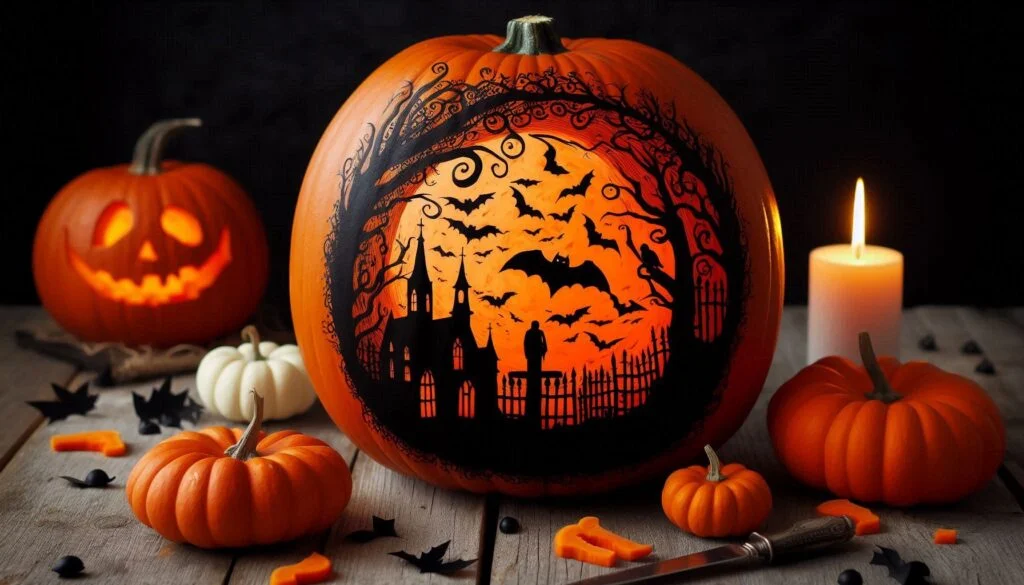
Create a hauntingly beautiful Halloween display with a silhouette scene.
This project is ideal if you want an elegant, slightly eerie look for your front porch. By painting silhouettes across three pumpkins, you’ll craft a continuous scene that looks straight out of a Halloween fairytale.
What You’ll Need:
- Three pumpkins of similar size
- Black or deep purple acrylic paint for the base
- White or glow-in-the-dark paint
- Fine-tipped paintbrushes
How to Make:
- Prep and Paint the Base Coat: Start by painting each pumpkin in black or deep purple, creating a bold base for the silhouette. Allow them to dry.
- Design the Silhouette: Using white or glow-in-the-dark paint, create a continuous Halloween scene across the three pumpkins. Ideas include haunted houses, spooky trees, flying bats, and a full moon.
- Apply Details: After outlining, go back and add details to bring your scene to life. The glow-in-the-dark paint adds an extra touch for nighttime ambiance.
Place these silhouette pumpkins together for a striking, no-carve Halloween centerpiece!
3. Marble Drip Pumpkins
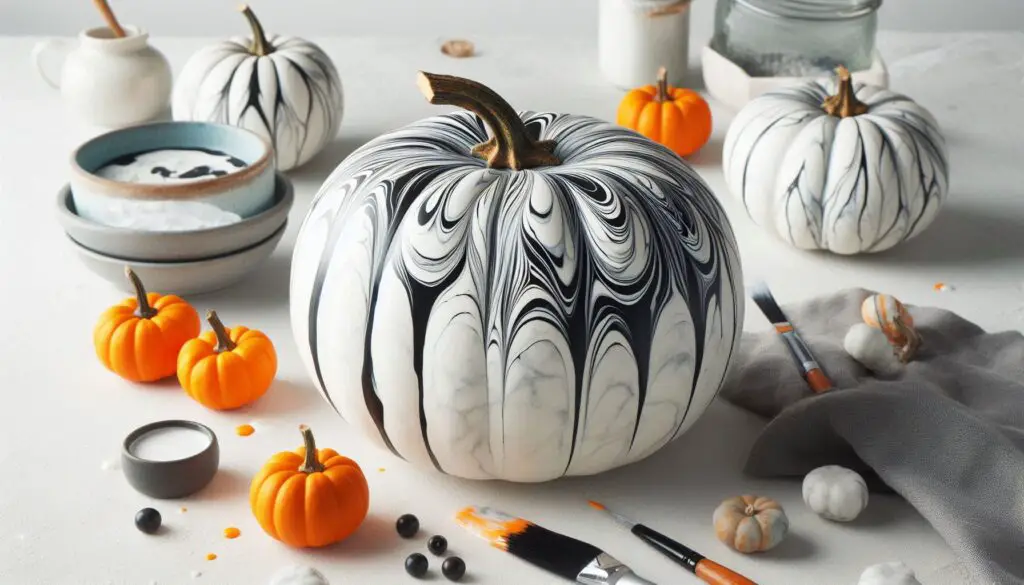
Add some luxe to your fall décor with a marbled paint effect!
This unique technique creates a mesmerizing, textured look that will impress guests. Using pink, gold, and white paints, you can achieve a beautiful marbled pumpkin that feels both spooky and sophisticated.
What You’ll Need:
- Three pumpkins in any size
- Acrylic paints in pink, gold, and white
- A pouring medium or a small cup
- Protective covering for your work area
How to Make:
- Paint Base Coat (Optional): For a solid base, paint the pumpkins in a single color and allow to dry.
- Create Marbled Effect: Pour small amounts of pink, gold, and white paint into a cup. Tilt and pour the paint slowly over the pumpkin’s top, letting it drip down the sides naturally.
- Adjust as Desired: Use a small brush to guide the paint if you want more control over the marbled look.
- Let Dry: Allow the pumpkins to dry thoroughly before moving them.
This marble effect adds a touch of glam and can be perfect for anyone looking to elevate their autumn décor with a chic, colorful touch!
Turn Your Painted Pumpkins into Extra Cash!
Did you know you can make extra income by selling your pumpkin crafts? Here are a few ways to monetize your creativity this Halloween season:
- Sell Locally: Reach out to local craft fairs, farmer’s markets, and fall festivals where you can set up a booth and sell your unique pumpkins.
- List Online: Use online platforms like Etsy, Facebook Marketplace, or Instagram to reach a larger audience. Add in keyword-rich descriptions (e.g., “No-Carve Pastel Ghost Pumpkins”) to help potential buyers find your products.
- Offer Customization: Many customers love personalized items. Offer custom-painted pumpkins with names, initials, or specific colors for an added fee.
- DIY Pumpkin Painting Kits: If you have a flair for instructional design, package DIY kits with instructions and sell them for a fun, interactive twist. These kits are a hit with families and make for a great seasonal activity.
Get Started with These Trending Fall Craft Ideas!
These DIY pumpkin painting ideas are an easy, creative way to embrace the Halloween spirit without the hassle of carving. Not only do these pumpkins bring charm to your décor, but they can also help you earn extra cash this season! From pastel ghost pumpkins to marbled elegance, grab your paintbrushes and start crafting your way into a festive fall. And if you’re looking for more Halloween craft ideas, check out our Halloween wood crafts that you can make and even sell for an extra source of income.
Happy painting, and happy selling! 🎃




1 thought on “Easy DIY Pumpkin Painting Ideas for a Halloween”